Cinemagraph - Playing as a Timelord
- May 31, 2016
- 4 min read
Now, I have 10 more posts to finish, not to mention the ones I'm forgetting about (there has got to be a few of those), and the printing and binding and all that shizz, so I'll try to make the next ones quick. But you know me, I'll probably fail in two minutes, and I'm already failing now, so screw that.
Today, my friends, we are going to play with time and space dimensions.
And by that I mean we're Photoshopping.
A cinemagraph is an image where some parts move and others don't. Surprisingly, you can create cinemagraphs using Photoshop alone.
Just open any video you want to use in Photoshop. Go to Window > Timeline. If you're familiar with Final Cut Pro or Adobe After Effects or Premiere or anything that involves editing videos and animation, this is somewhat similar. You have a timeline, which is where all the shizz happens, a red pole thing, which marks your position in the timeline, and on the side you have the Play/Pause/Forward/Stop options, as well as the video layers. Clicking the drop-down button on the video layers reveal stuff like Opacity and Position, which you can activate/de-activate by clicking the stopwatch thingy. This will create a keyframe.

But first, here's what we want to do: freeze the man and leave the left escalator running. To do that, we want to select the exact position we want the man to freeze in. Simply copy the layer in the Layers panel. You will see that this creates a second video layer underneath the original one. You can adjust this as you would normal layers---move them up or down, whatever. You can also adjust the length of the video by hovering your cursor (do the British spell it as "cursour"? They should) over the beginning or end of the clip. You can then drag the clip to adjust its length. Unlike using a Blade tool in Final Cut Pro, doing this will not permanently crop the clip---it will simply adjust which section is visible and which section isn't. Sort of like a Show/Hide thing.

As I said before, we want some parts of the video to move while the rest freezes. Still in the same frame, press Command + Option + Shift + E (mac). This will essentially create a copy of whichever frame you were in.
Create a layer mask for the topmost clip. The clip will turn purple. Your layers should look like this:

On the layer underneath the masked layer (I know this is all so confusing but just bear with me), click the drop down and enter an Opacity keyframe. This should be at the same time your "frozen layer" starts.

Now, go to the end of the clip and insert another Opacity keyframe, only set this one at 0% (while the first one is at 100%). This will essentially create a fading effect.

Now, for the fun part. Using a Brush tool on the layer mask, run over the areas that you want the clip to move. This should be done at the topmost layer. You can see which parts are selected by pressing the \ on your keyboard. As you can see in the screenshot below, I have selected the escalator. This means that if you play the clip, the left escalator will move while the rest stays still.

You can also use the Lasso or Polygonal Lasso tool for this purpose, especially since the escalator is rectangular in shape. Though using the Polygonal Lasso around a very organic-shaped person isn't the best example I could come up with, but hey. You know what I'm talking about.

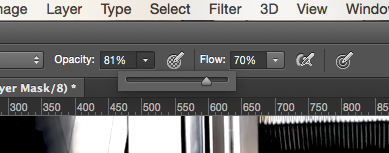
Brush setting preferences, though this by no means is a default for all escapades:
As you can see in the screenshot below, using the Polygonal Lasso tool around a person isn't the best idea. You can see the sloppy white cuts. Also, when played, it looks as if the person's soul is slipping out of him and climbing up the escalator.

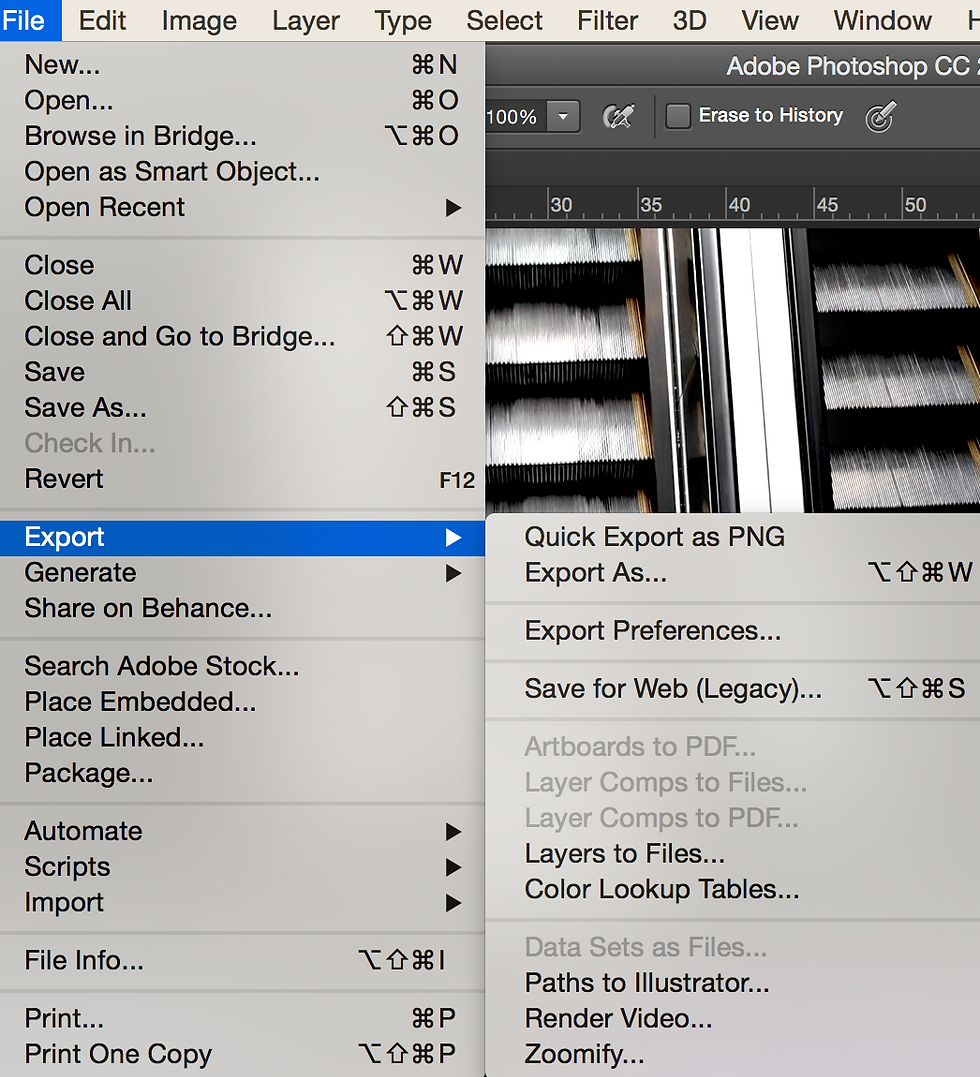
To save a cinemagraph, go to File > Export > Save for Web (Legacy)...
This will trigger a pop-up window:

A few things to note: change the file type to .gif and the looping option to Forever. You can also change the video size, though try to stick to default video sizes like 720p, 360p, or 144p if you want to be cruel.


And voila! The final result. The escalator happens to run smoothly, sometimes it takes a few tries (and a lot of patience) to get it to loop smoothly. And the man is trapped in time, forever looking at something in the distance that he will never reach.

A few practice files. Let's cinemagraph-ify this pouring-wine-or-beer-or-is-it-apple-juice video. I'm attempting to freeze the liquid level and animate the pouring liquid.

Same steps...

Toying with Opacity change.

The final result. It's not as smooth as the escalator one, I must admit. You can still see parts where ghosts of the pouring drink can be seen.

To be honest I think this might be a Photoshop glitch. In the screenshot below you can see where the red pole cannot go anymore past that position. That means it cannot reach the very edge of the clip. Consequently, the keyframes in Photoshop don't work properly---if I change the second keyframe's Opacity to 0%, the other one will automatically change to 0% as well. So, I think it's a glitch.

And another one. This time I'm trying to animate the smoke.

Results:

Final thoughts? Well, I really don't know, it's past midnight and my eyelids have lives of their own, it seems. I will say that these cinemagraphs are very hard to get perfect. It requires perfect timing and a great degree of patience. However, the results are rewarding. I am fulfilling my dreams of freezing the rest of the world and catching some sleep while time stands still, even if it's only through Photoshop.
Comments